

Learn how to screen record in Windows 11 with our easy guide. Capture your screen, record clips, and save audio effortlessly using built-in tools and shortcuts.
Screen recording is a great tool for many, like video creators, gamers, and those who need to capture their screen. Taking a screenshot on Windows 11 is simple, but recording your screen isn’t always clear. This guide will show you how to record your screen in Windows 11 using built-in tools and apps.
Key Takeaways
- Windows 11 has a built-in tool called Xbox Game Bar for screen recording.
- The Snipping Tool in Windows 11 can also be used for screen recording.
- Apps like Descript offer advanced features for screen recording and editing videos.
- Screen recordings are great for making tutorials, capturing gameplay, or recording videos.
- Adjusting your recording settings can help get high-quality screen recordings.
What is Screen Recording?
Screen recording, also known as screen capture, is a way to record what’s on a computer or mobile device’s screen. It lets you capture everything from software demos to gameplay and online videos. This tool is very useful for many things.
Benefits and Use Cases
Screen recording has many benefits and uses in both personal and professional areas. Here are some main advantages:
- Creating step-by-step tutorials: Capture your screen to show how to use software, fix problems, or demonstrate tools.
- Sharing gameplay and esports content: Record your gaming to share skills, highlights, or commentary with others.
- Constructing walkthroughs for new hires: Use recordings to teach new employees about software and operations.
- Providing feedback and collaboration: Record your screen to give feedback, work on projects, or show solutions to others.
- Capturing online videos: Record streaming events, webinars, or presentations for later use or to share with those who missed it.
Learning the best tools and steps makes screen recording easy and effective. This way, you can make content that grabs your audience’s attention and meets your goals.
How to Screen Record in Windows 11
Windows 11 has many built-in options for screen recording. This makes it easy for users to capture what’s on their screen. The Xbox Game Bar and the Snipping Tool are two main tools for screen recording. Each tool offers a unique way to record your screen.
Using the Xbox Game Bar
The Xbox Game Bar is great for recording your screen or a specific window. To start, press the Windows logo key + G to open the Game Bar. Then, click the “Record” button to begin recording. You can also record audio by turning on the microphone icon.
When you’re finished, press Windows logo key + G again to stop recording.
The Snipping Tool
The Snipping Tool is another easy way to record your screen in Windows 11. It lets you pick the area you want to capture. This is perfect for recording certain parts or windows of your screen. To use it, search for the Snipping Tool in the Start menu and select “New” to start recording.
It doesn’t record audio, but it’s great for capturing and editing screenshots easily.
While these tools are good for basic screen recording, you might want to look into third-party apps. For example, Movavi Screen Recorder offers more features and customization.
| Method | Advantages | Disadvantages |
|---|---|---|
| Xbox Game Bar | Integrated into Windows 11 Can record full screen or specific windows Records audio | Limited customization Designed mainly for gaming |
| Snipping Tool | Easy to use Allows choosing what to capture Includes editing tools | No audio recording Limited to certain screen areas |
Choosing how to record your screen is important for getting great quality footage and audio. By using built-in tools and third-party apps, you can easily make screen recordings in Windows 11 that suit your needs.
Record Screen with Snipping Tool
The Snipping Tool in Windows 11 is a great way to capture your screen. It lets you record your computer screen. This is perfect for making tutorials, capturing gameplay, or showing how software works.
To record your screen with the Snipping Tool, just open the app and hit the “Record” button. It will count down for 3 seconds before it starts recording. You can pause, stop, and save the video as an MP4 file. But, it doesn’t record audio yet.
Many Windows users love the Snipping Tool for capturing their screens. The feature for recording the screen is especially popular. But, some users have faced issues like crashes and the lack of audio recording.
| Feature | Snipping Tool | iTop Screen Recorder |
|---|---|---|
| Audio Recording | Not Supported | Supported |
| Video Quality | Up to 1080p | Up to 4K |
| Video Formats | MP4 | MP4, AVI, GIF, and more |
| Editing Capabilities | Limited | Robust video editing features |
If you need more from your screen recording, consider iTop Screen Recorder. It has features like audio recording, better video quality, and lots of editing tools.
In summary, the Snipping Tool is easy to use for simple screen recordings. But, for more advanced needs, iTop Screen Recorder might be a better choice.
how to screen record in windows 11
Windows 11 makes screen recording easy with several options. The Xbox Game Bar is a built-in tool for recording your desktop activities. It lets you record your screen with just a few clicks.
To open the Xbox Game Bar, press the Windows key + G on your keyboard. This opens the Game Bar. Click the “Camera” icon to start recording your screen. You can record all or just a part of your screen. You can also adjust the microphone settings to include audio.
- Press the Windows key + G to open the Xbox Game Bar.
- Click on the “Camera” icon to access the screen recording options.
- Select whether you want to record your entire screen or a specific window.
- Adjust the microphone settings to include audio, if needed.
- Click the “Record” button to start capturing your screen.
The recorded video will be saved in the Videos folder under This PC on your Windows 11 device. You can then access and share the screen recording as needed.
There are also third-party screen recording apps for Windows 11. These apps offer features like annotating the screen, recording audio and webcam at the same time, and exporting videos in different formats. Always download these apps from trusted sources to ensure they are safe and reliable.
| Screen Recording App | Key Features | User Rating |
|---|---|---|
| Bandicam | Record screen at up to 4K resolution and 480 FPS Add real-time sketching and webcam overlay Compress video files to reduce size | 4.7/5 (G2) |
| OBS Studio | Open-source and highly customizable Record desktop, webcam, and audio simultaneously Stream live to popular platforms like Twitch and YouTube | 4/5 (TechRadar) |
| Movavi Screen Recorder | Capture high-quality video with intuitive controls Schedule recordings and set hotkeys Edit and share recordings with built-in tools | 4.5/5 (G2) |
Whether you use the Xbox Game Bar or third-party apps, screen recording in Windows 11 is easy. Capture your desktop activities, make instructional videos, or record online content easily. This enhances your digital workflows and content creation.
“The Xbox Game Bar in Windows 11 makes screen recording a breeze, allowing me to capture high-quality videos with just a few clicks.”
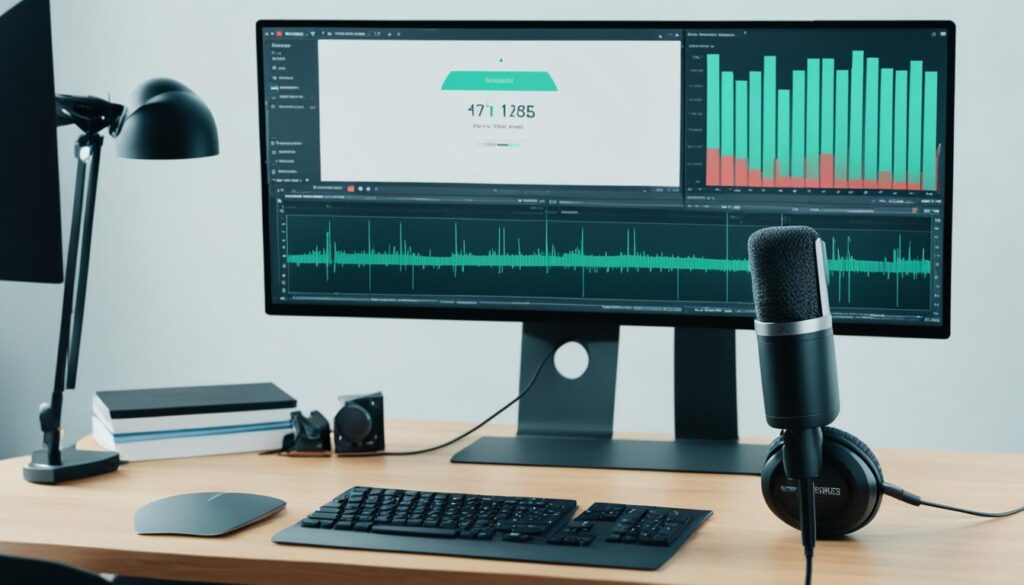
Record Online Videos with Descript
Descript is a great tool for advanced screen recording and video editing. It’s a free app that lets you record your screen, webcam, and audio. You can then edit the footage with features like automated transcription, overdubbing, and special effects. Descript makes it easy to make professional-looking videos, even when recording remotely with guests or working with your team.
Descript’s Advanced Features
Descript has many powerful features that make it stand out. Some of its key abilities include:
- Built-in remote recording for up to 10 guests, in up to 4k video.
- Automatic filler word removal for “um”, “like”, and awkward pauses.
- AI Actions to repurpose content into blog posts, social media clips, summaries, and more.
- Drag-and-drop transcription of audio & video files.
Screen recordings are great for adding a visual element to your content. With Descript’s advanced tools, you can make professional-looking videos. These videos can engage your audience and help you share your message effectively.
Descript’s video editor helps creators remove background noise with AI tools. You can publish videos directly to your YouTube channel. And, you can enjoy premium features for free with their free plan. Whether you’re making videos for YouTube, training materials, or working with a remote team, Descript offers a wide range of tools for your online video needs.
| Feature | Description |
|---|---|
| Remote Recording | Descript’s built-in remote recording feature allows you to record up to 10 guests in up to 4K video, enabling seamless virtual collaborations. |
| Automated Transcription | Descript’s drag-and-drop transcription feature converts your audio and video files into editable text, saving you time and effort. |
| Filler Word Removal | Descript’s AI-powered tools automatically detect and remove common filler words like “um” and “like,” polishing your recordings and improving the overall quality. |
| Content Repurposing | Descript’s AI Actions feature allows you to easily repurpose your recorded content into various formats, such as blog posts, social media clips, and summaries, boosting your productivity and expanding your content reach. |
If you’re into how to record online videos on windows, or if you use descript screen recorder or descript video editing, Descript is a top choice. Its advanced features help you create high-quality online videos. These videos can engage your audience and improve your content strategy.
Alternative Screen Recording Apps
Windows 11 has great built-in tools for screen recording. But, there are also many third-party apps that offer more features. Apps like the Screen Recorder for Windows and the Screen Recorder for Microsoft Edge are popular. They let you record audio, edit videos, and record multiple windows at once.
OBS Studio is a top free screen recorder for Windows 11. It’s open-source and lets you stream and record in high definition without limits on video length. You can capture games in full-screen mode and record at 60 frames per second.
Debut Video Capture from NCH Software is another great tool. It needs a license or subscription for business use but offers powerful video and audio capture. Users can save each recording to edit later.
- ShareX is a free app for PCs that has many annotation tools. It also lets you pixelate or blur parts of captured images.
- EaseUS RecExperts records up to 4K video at 60FPS, perfect for webinars, presentations, and gaming. It has editing tools like trimming and adding intros.
- ScreenPal’s Screen Recorder works on Windows, macOS, and ChromeOS browsers. The free version records up to 15 minutes.
These are just a few of the best screen recording apps for windows 11 and free screen recorders for windows 11 out there. Each app has unique features, so pick the one that fits your needs best.
Choosing a screen recording app depends on what you need and like. Whether you want something simple or lots of features, there are many best screen recording apps for windows 11 and free screen recorders for windows 11 to try.
Tips for Recording High-Quality Videos
Recording high-quality screen videos is key for making content that grabs attention and teaches viewers. Here are some tips to help you get the best results:
Optimize Settings for Best Results
Changing your screen recording settings can make a big difference in video quality and size. Start by picking the right video frame rate and resolution. Aim for 30-60 FPS and a resolution of 1080p or higher for most videos.
Also, turn on audio recording if you want to add narration or capture sounds. Using a good microphone will make your voice clear. Close any apps you don’t need to record to keep things focused and efficient.
Adjusting your settings for your specific recording needs will help you get the best quality. This way, your screen recordings will be engaging and full of information for your viewers.
| Setting | Recommended Value | Benefit |
|---|---|---|
| Frame Rate | 30-60 FPS | Balances quality and file size |
| Resolution | 1080p or higher | Provides clear, detailed visuals |
| Audio Recording | Enable with microphone | Enhances viewer experience with clear narration |
| System Resources | Close unnecessary apps and tabs | Minimizes distractions and optimizes performance |
By using these tips to improve your screen recording settings, you can make videos that are both high-quality and easy to watch. This way, you can share your ideas and information with your audience effectively.
Editing and Sharing Screen Recordings
After recording your screen on Windows 11, it’s time to edit and share your work. There are many tools and platforms that make this easy and quick.
Editing Screen Recordings
For simple edits like cutting, joining, and polishing your recordings, try Microsoft’s Clipchamp app or Descript’s video editor. These tools are easy to use and let you add captions or notes and improve your recordings before sharing.
For more advanced editing, look into OBS Studio or EaseUS RecExpert. These programs offer lots of features. You can set custom resolution and frame rates or capture specific parts of your screen.
Sharing Screen Recordings
When you’re ready to share your recordings, upload them to sites like YouTube, social media, or cloud services like Google Drive or Dropbox. This makes your content easy for others to find and share.
To get more views and engagement, make your recordings stand out. Add catchy titles, descriptions, and use keywords like “how to edit screen recordings” and “how to share screen recordings.” This helps your content show up in searches and attract the right people.
| Platform | Benefits |
|---|---|
| YouTube | Vast audience, easy sharing, and robust analytics |
| Social Media | Increased visibility and engagement with your followers |
| Cloud Storage | Secure storage, easy access, and the ability to share links |
Using the right tools and platforms lets you edit and share your screen recordings easily. This way, your audience can quickly find and enjoy your content.
Conclusion
Screen recording on Windows 11 is a powerful tool for many uses, like making tutorials or capturing gameplay. You can use the built-in Snipping Tool, Xbox Game Bar, or third-party apps like Descript. This gives users many options for their needs.
To make sure your recordings are top-notch, follow some best practices and adjust your settings. This way, your recordings will look professional and keep your audience engaged. Screen recording in Windows 11 is key for sharing knowledge, documenting steps, or just saving special moments.
With more people working remotely and collaborating online, screen recording on Windows 11 is more important than ever. It helps with sharing knowledge, training remotely, and documenting digital work. By getting good at these tools and methods, you can improve your content, work better, and communicate more effectively in the changing world of Windows 11.
FAQ
How do you screen record on PC Windows 11?
Windows 11 offers built-in options for screen recording. You can use the Xbox Game Bar or the Snipping Tool.
How to capture screen on Windows 11?
The Snipping Tool is great for recording your screen in Windows 11. Just open the Snipping Tool, hit the Record button, and pick the screen area you want to capture.
How to record clips on PC?
The Xbox Game Bar lets you record your whole screen or a single window. Press Windows+G to open the Game Bar and start recording.
How do I record sound from my computer Windows 11?
The Snipping Tool doesn’t record audio in Windows 11. For audio, use the Xbox Game Bar or apps like Descript.
Can I record a show on my computer?
Yes, tools like the Snipping Tool or apps can capture videos and shows on your computer.